WhatsAppBetaAvailable after a short review
Before you start
Use a Meta account that can manage billing for the business and the WhatsApp account connected to Kibi.
Connect it, step by step
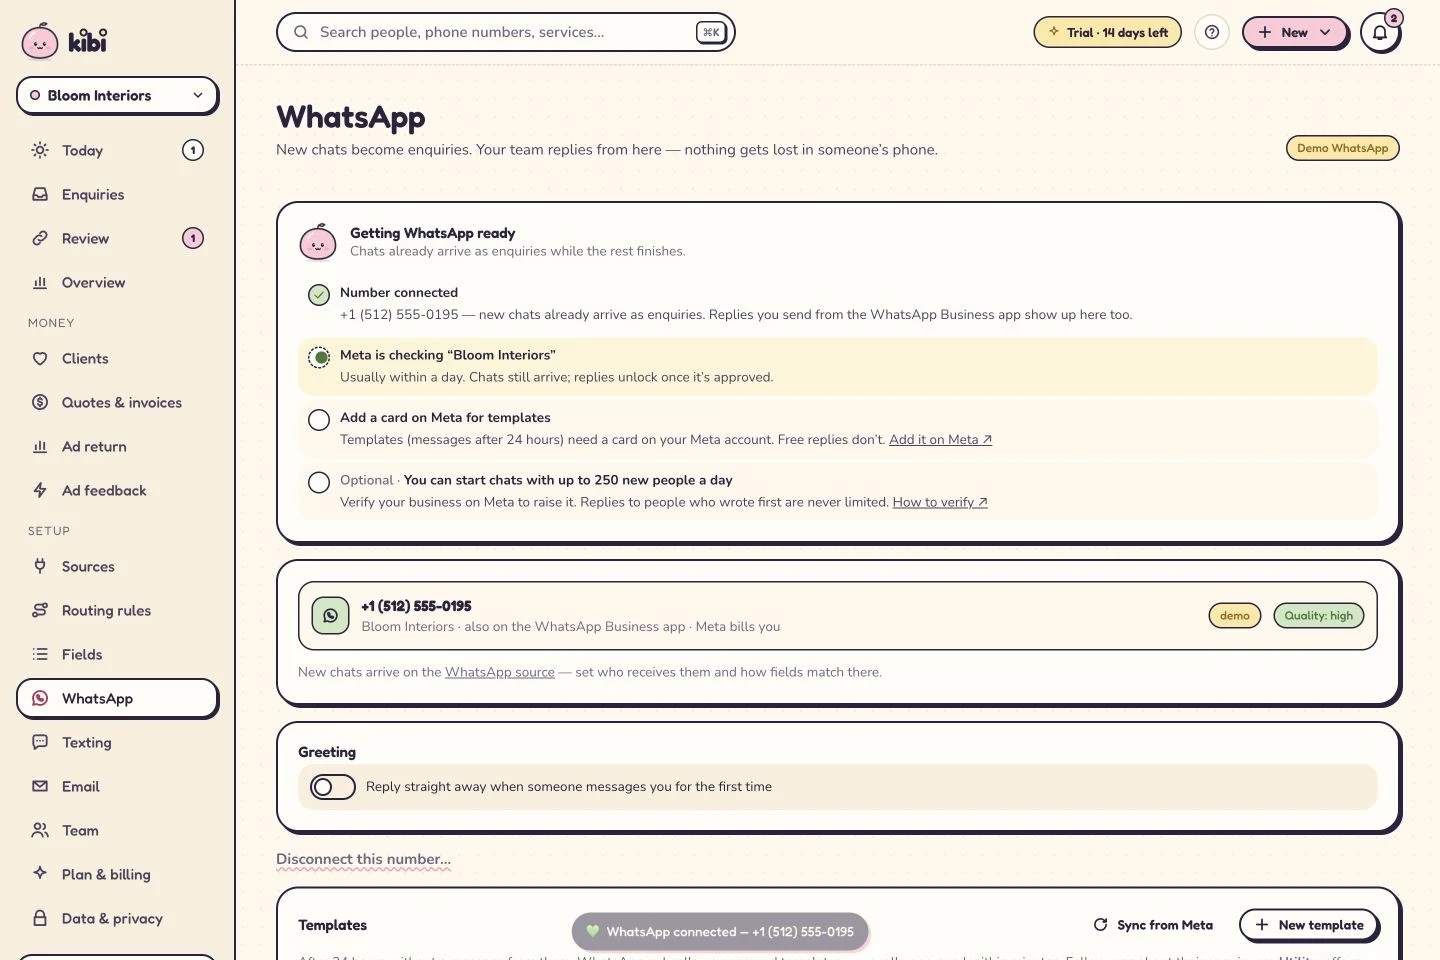
- Open WhatsApp in Kibi. In “Getting WhatsApp ready”, use the card-on-Meta link to open Meta’s billing settings.
- Select the business and WhatsApp account you connected to Kibi. Check the account carefully if you manage more than one.
- Follow Meta’s payment-method prompts to add the business’s card and save it.
- Return to Kibi and check the checklist. The card status can remain unknown until Meta reports it. If Meta rejects a template for billing, Kibi tells you to add a payment method.
Meta bills you directly for WhatsApp. Kibi never charges your credits for it.
What happens next
The card is needed for templates only. Incoming chats keep saving. Replies within an open reply window still depend on the number’s other readiness checks, including display-name approval.
If you get stuck
If you cannot manage the payment method, ask the person who manages the Meta business’s billing. If Kibi reports a billing problem, check the payment method for the connected WhatsApp account.
Related guides
Kibi screens shown here use a demonstration workspace. Use your own account details when you connect.